
Alot of the shank buttons in my shop can easily be turned into cabochons. Here's how...
You'll need the following supplies: plastic shank buttons, cutters, and sunglasses. Well...you don't really need sunglasses but the shanks you cut off do fly all over the place. Plus, the cutters clearly state to use safety glasses. ;) The cutters can be found in the jewelry section of any craft store.

Here's a look at the back of the buttons. The buttons I'll be using are the star shaped buttons from my shop.

When cutting the shank, I suggest cutting both sides at the same time (as pictured). When you cut each side seperately, the cuts are not smooth so you'll have to go back and snip off the excess.

Here is what the button looks like once the shank is cut off. The are will be white but it's no biggie since this is generally the side that is glued when crafting.
And here are the once star shaped buttons easily transformed to star shaped cabochons , nice and flat. Great for hairbows & clippies and just about any crafting project.

I also made some heart shaped cabochons out of some of the heart shaped buttons that are found at my shop.

You'll need the following supplies: plastic shank buttons, cutters, and sunglasses. Well...you don't really need sunglasses but the shanks you cut off do fly all over the place. Plus, the cutters clearly state to use safety glasses. ;) The cutters can be found in the jewelry section of any craft store.

Here's a look at the back of the buttons. The buttons I'll be using are the star shaped buttons from my shop.

When cutting the shank, I suggest cutting both sides at the same time (as pictured). When you cut each side seperately, the cuts are not smooth so you'll have to go back and snip off the excess.

Here is what the button looks like once the shank is cut off. The are will be white but it's no biggie since this is generally the side that is glued when crafting.
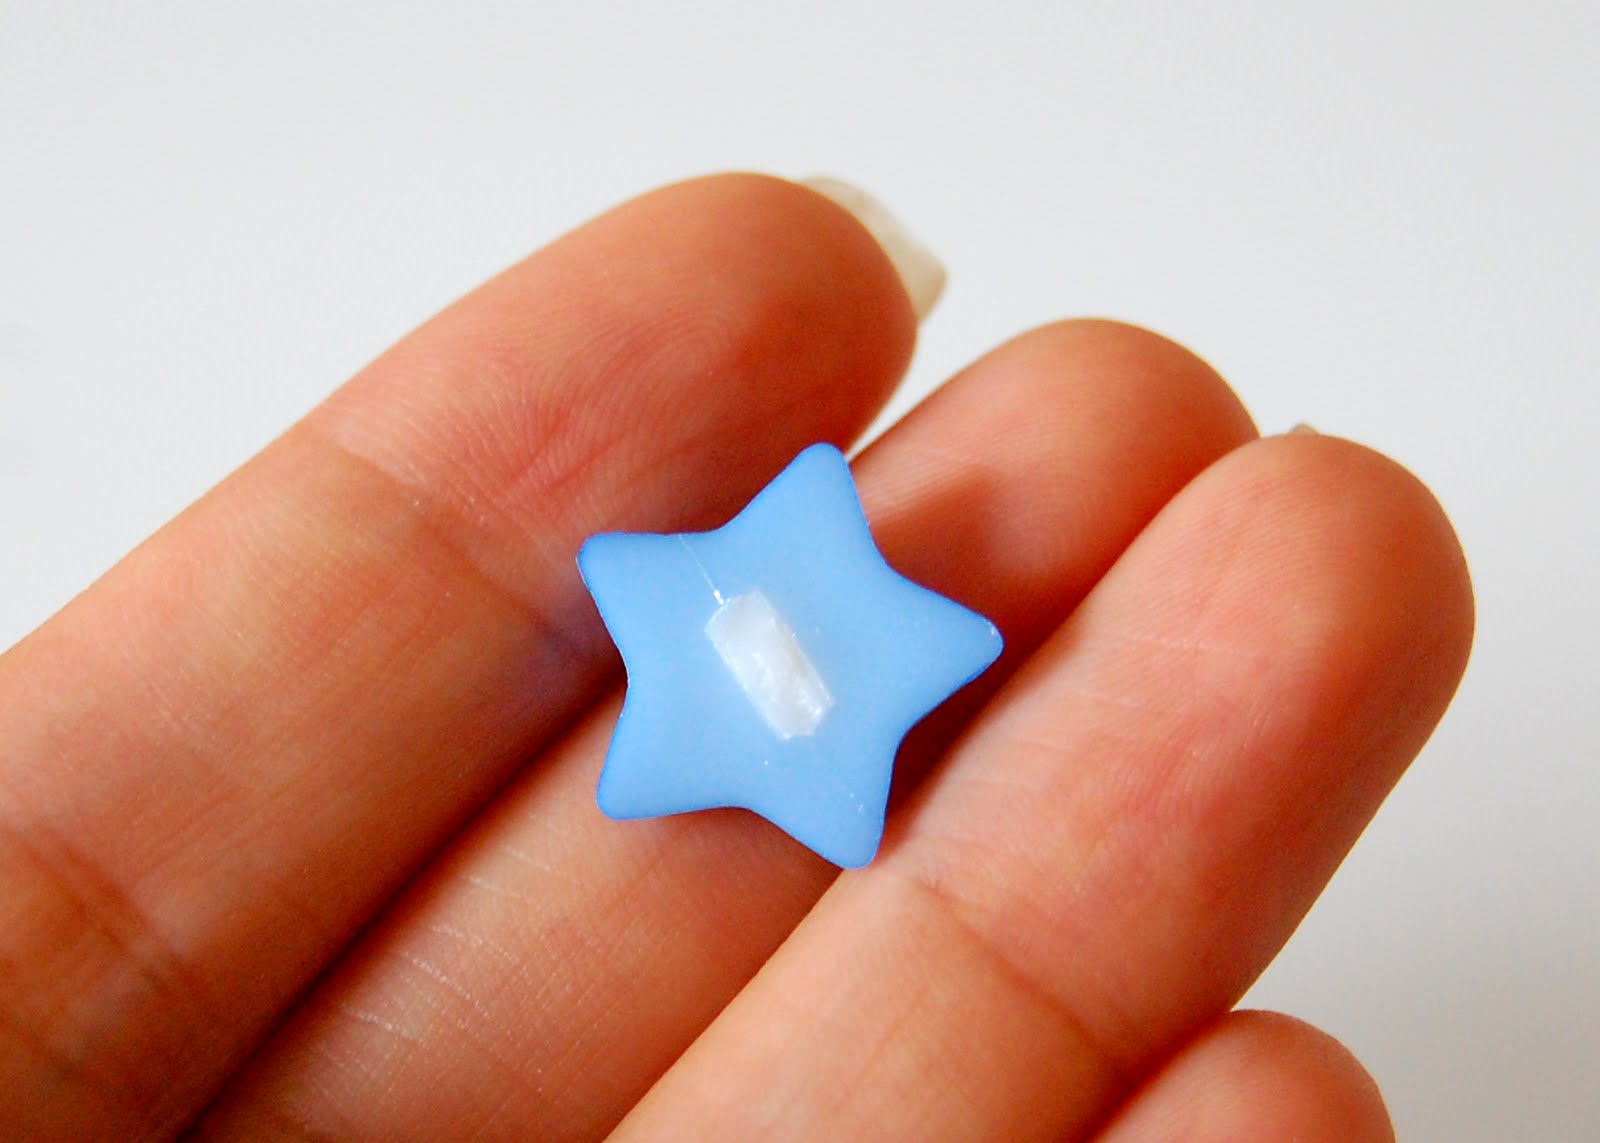
And here are the once star shaped buttons easily transformed to star shaped cabochons , nice and flat. Great for hairbows & clippies and just about any crafting project.

I also made some heart shaped cabochons out of some of the heart shaped buttons that are found at my shop.


